
To set up your website form, first go to the “Website Form” page. The first page to pop up when you reach this page is where your pricing table will appear once you’ve input more information. We’ve placed this as the first page to show up because once you’ve input all of your information, you’ll really do most of your work on this main pricing table page. But for now, you’ll want to skip this page.
The first thing you’ll want to do is click the next tab over labeled “Vehicle Types”.
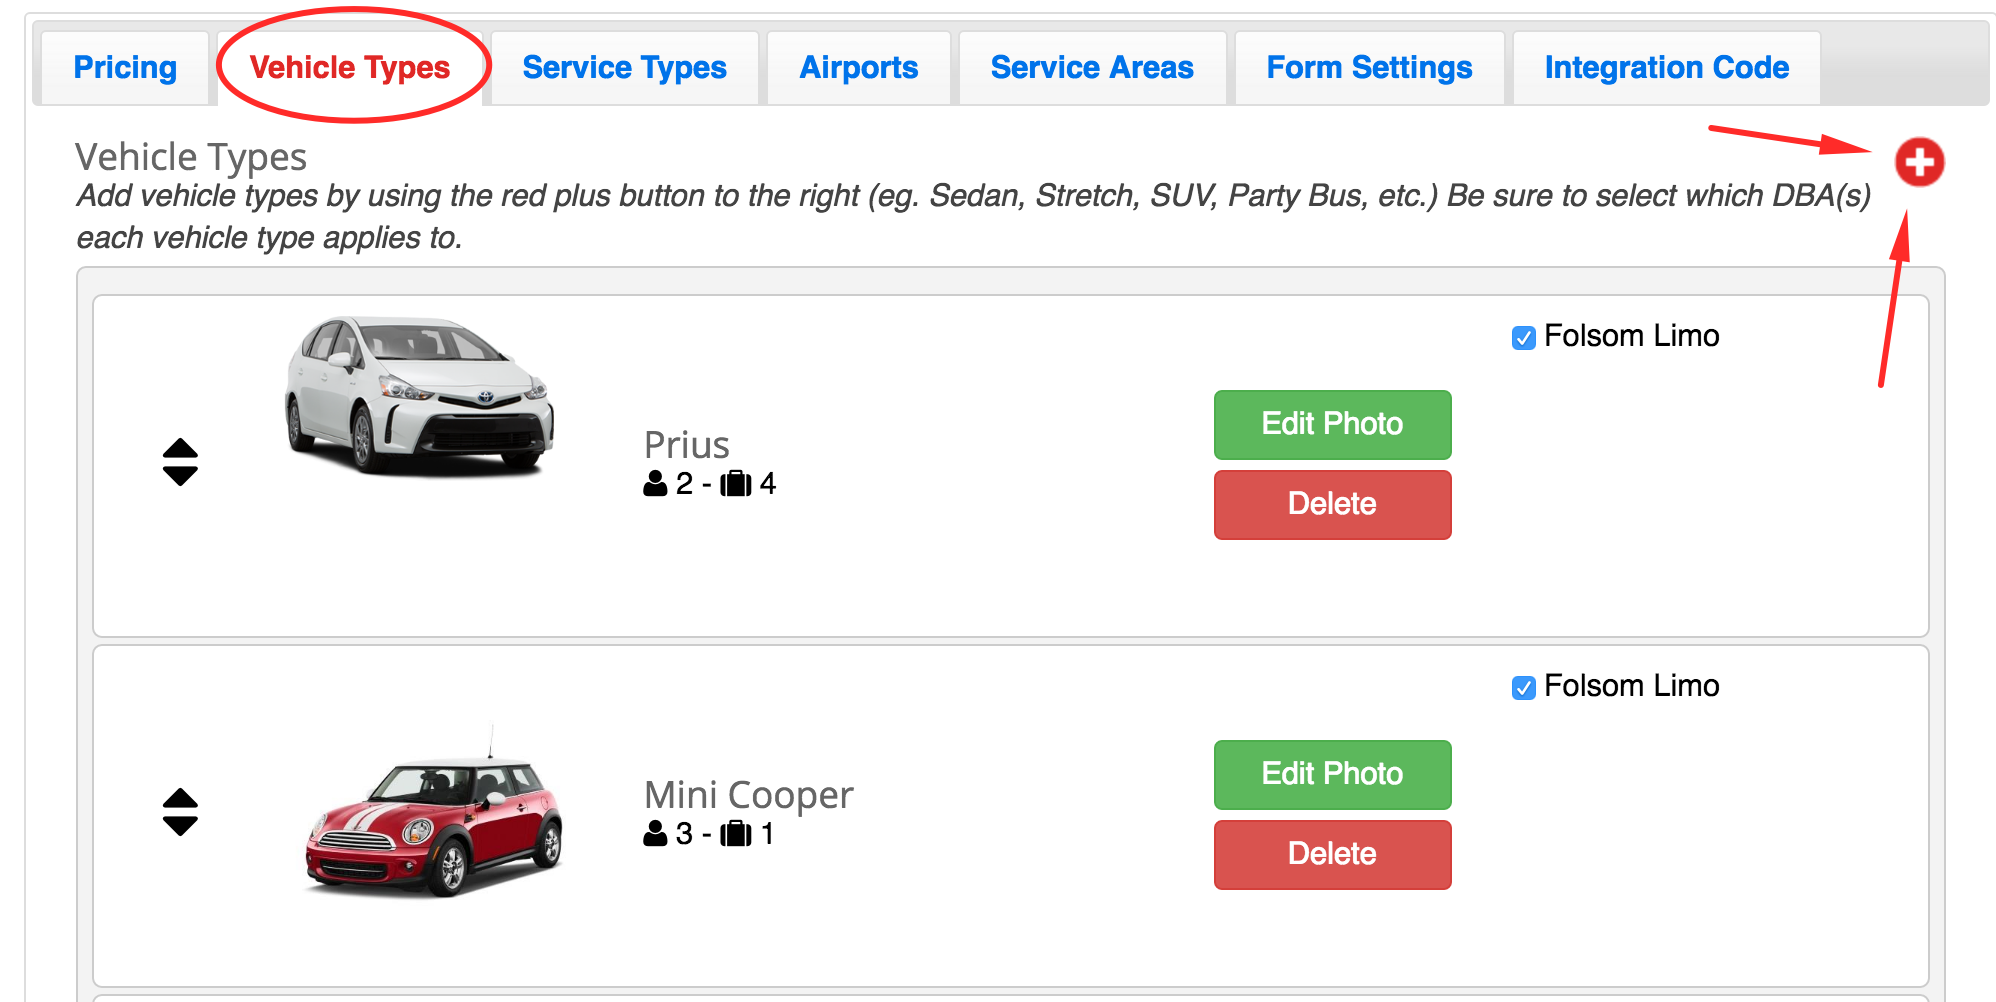
Use the red plus icon in the upper right corner to add a new vehicle type. A window will open allowing you to put in basic information that will show on your form.
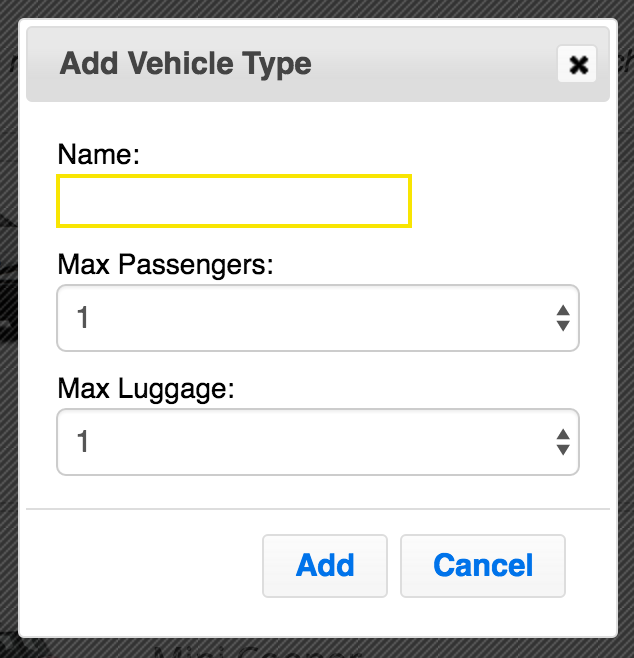
If you choose, you can put each vehicle that you own into the website form, but to make things more simple we suggest just inputting general vehicle “types” and not every vehicle (eg. Sedan, SUV, Party Bus, Shuttle Bus etc). Choose the maximum number of passengers and maximum luggage and click “Add”.
Once you’ve added all the vehicle types that you would like to show on your website reservation form, they will be listed in the “Vehicle Types” tab as shown below. You can add more or delete these vehicle types at any time. You can change the order by dragging and dropping them. The order they appear here will be the order that they appear on your website form. You can use the “Edit Photo” button to upload/edit vehicle pictures that will appear on the website form. To delete a vehicle type, press the red “Delete” button.

Each DBA that you’ve set up will be shown to the right of each vehicle type that you’ve entered as you can see above. Check the box for the DBA(s) that you would like this vehicle type to show up under. If you have only one DBA, be sure that you have all of the boxes checked.
You are now ready to move onto Step 2: Adding Service Types.