We want to provide you with information regarding the passenger app and how it works so that when your customers have questions about the app, you’re armed with the knowledge to walk them through their concerns. Here is a quick look into how the passenger app looks and functions.
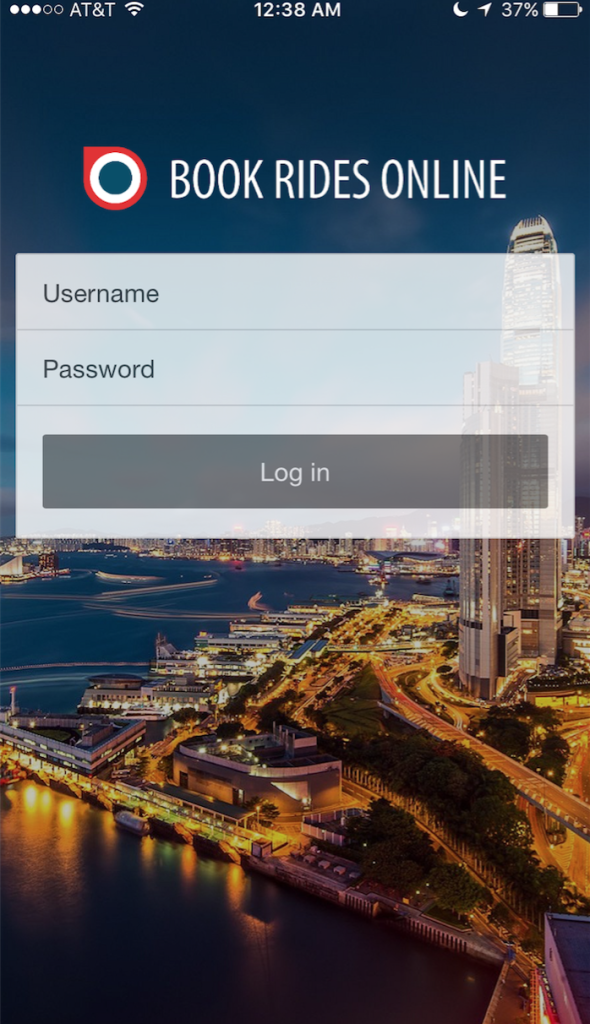
After downloading the passenger app, customers are able to log into their accounts using their existing username and password. If you have a white label version of the app, brand new customers can also create new accounts from the log in screen.
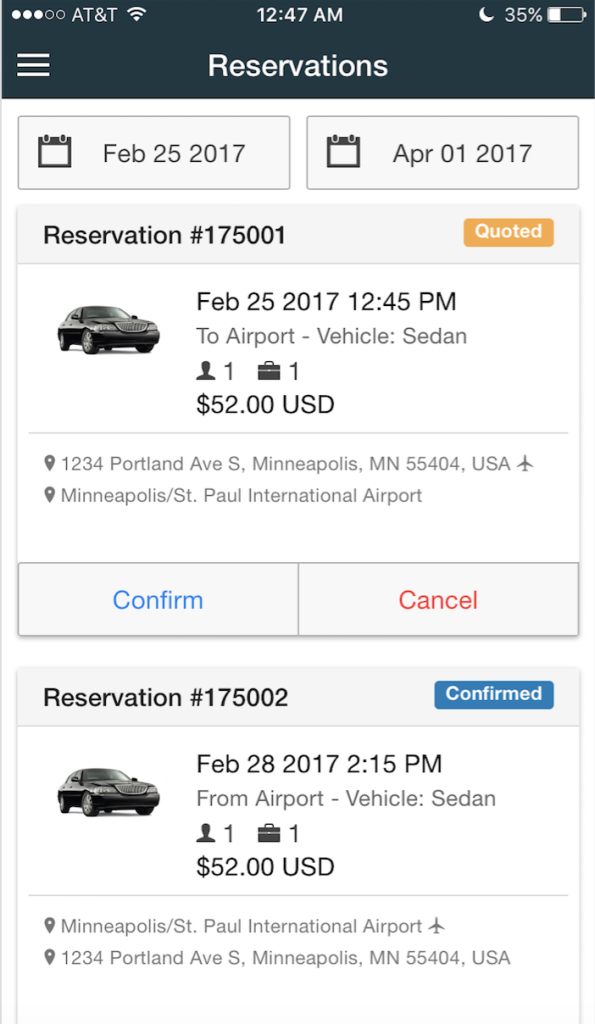
The first screen customers will see when logged in is their “My Reservations” page (above right). This page will show reservations based on the dates chosen at the top of the page, which allows it to see past, current and upcoming trips. Customers can confirm and cancel trips from this page, as well as pay for trips and email themselves receipts from this page as well. Payment and receipt options are only available if payment information is attached to the client’s account.
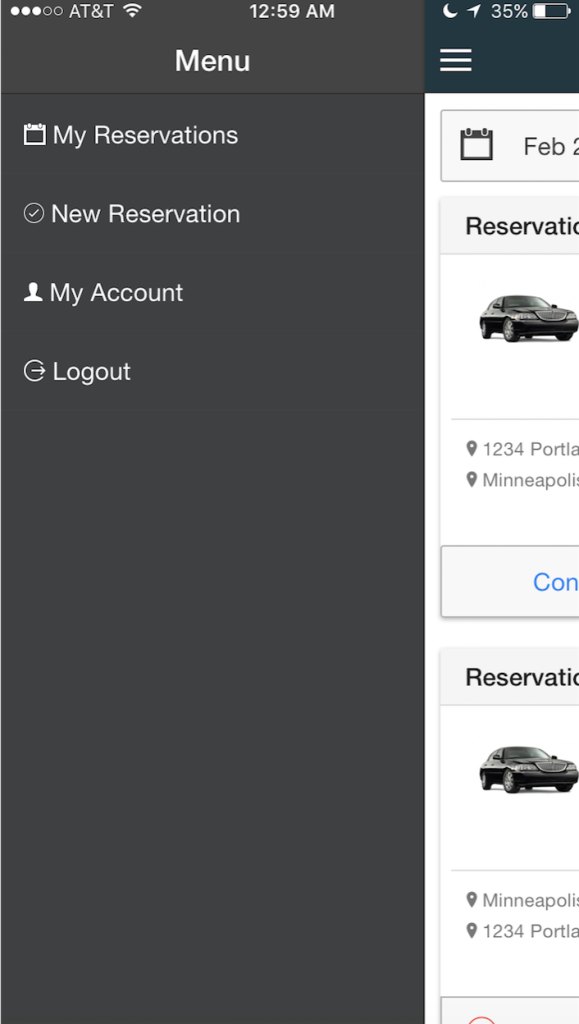
To open the menu, click the menu button located in the top left corner (icon of 3 white horizontal lines). The top option in the menu is “My Reservations” which is the page that was just discussed. The next option is “New Reservation”.
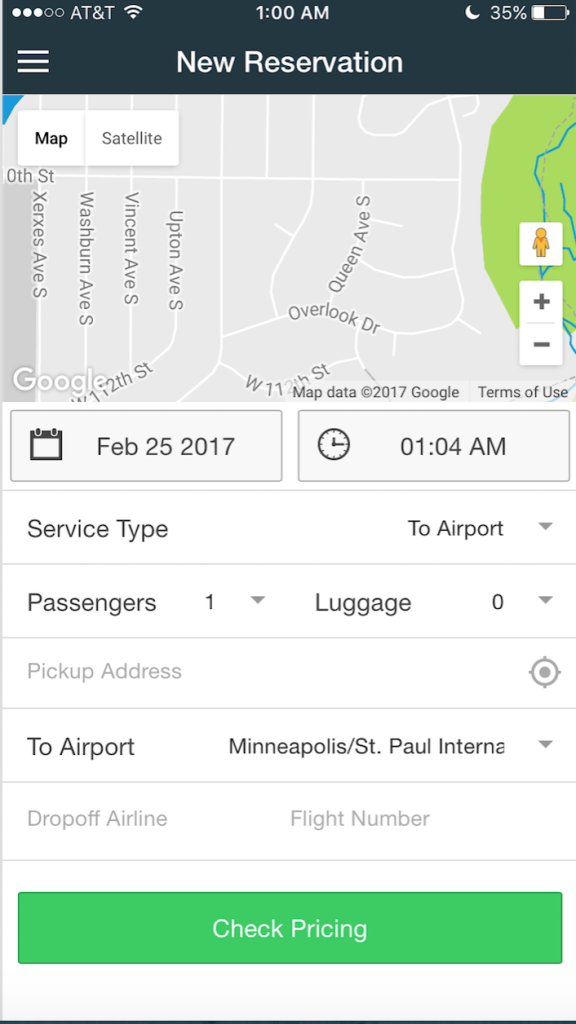
The New Reservation page will allow customers to request new trips based on the website form settings you currently have in place. Within the New Reservation page, we have a feature that will allow customers to hit a button to “find my location”. To learn how to use this, see Find My Location.
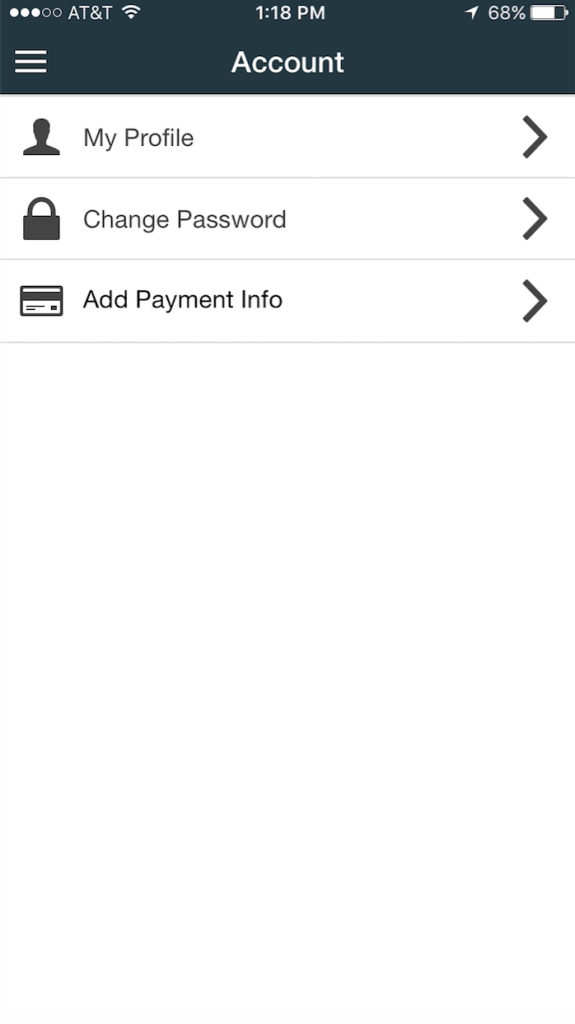
From the menu page, customers can also reach the “My Account” page. Under this page customers can access their profile information, change their password and Add/Edit payment information.
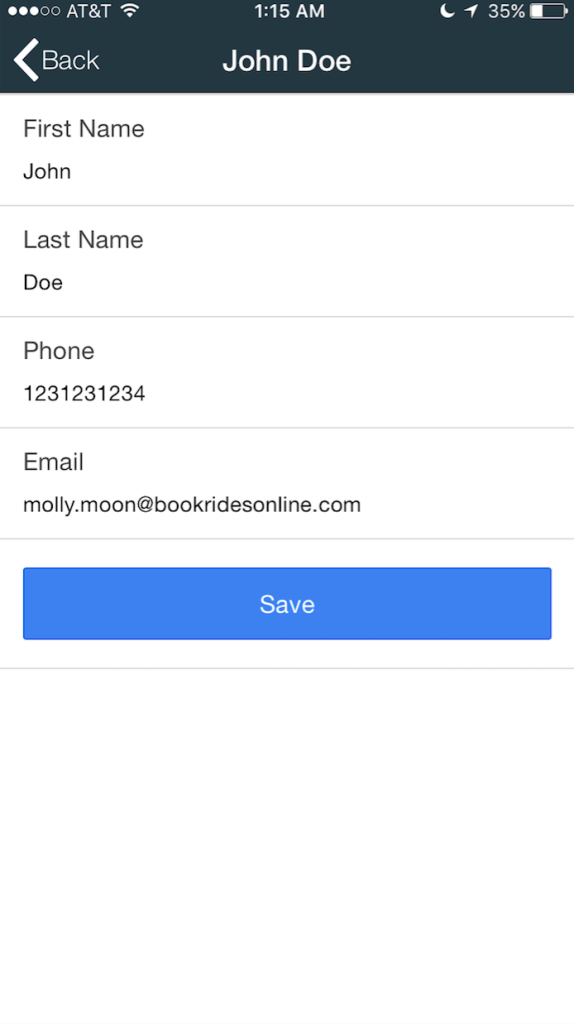
From the “My Profile” page, customer details such as name, phone number and email address can be changed and updated. The changes made here will be reflected in the backend of the system as well.
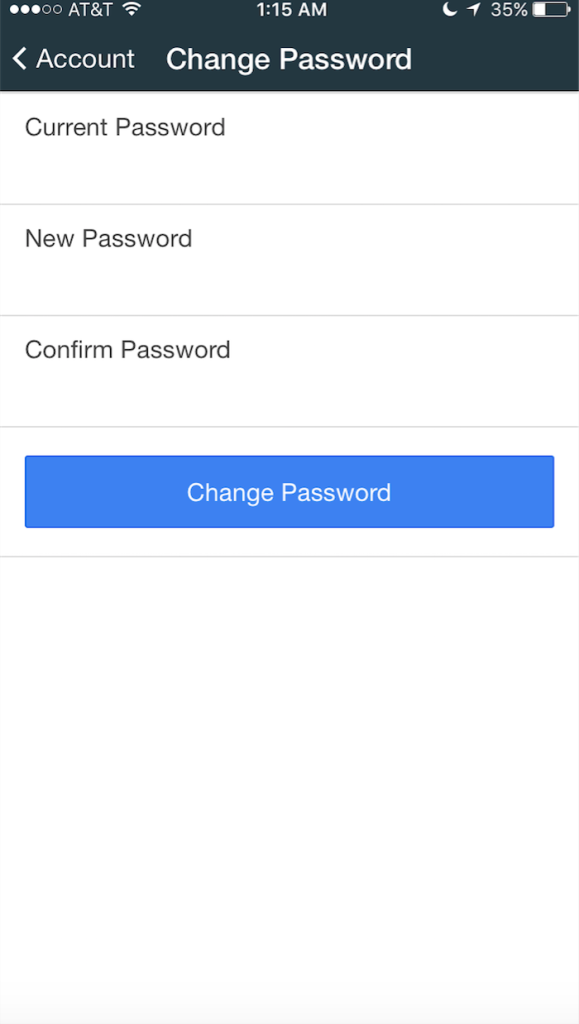
Passwords can be changed from the “Change Password” page.
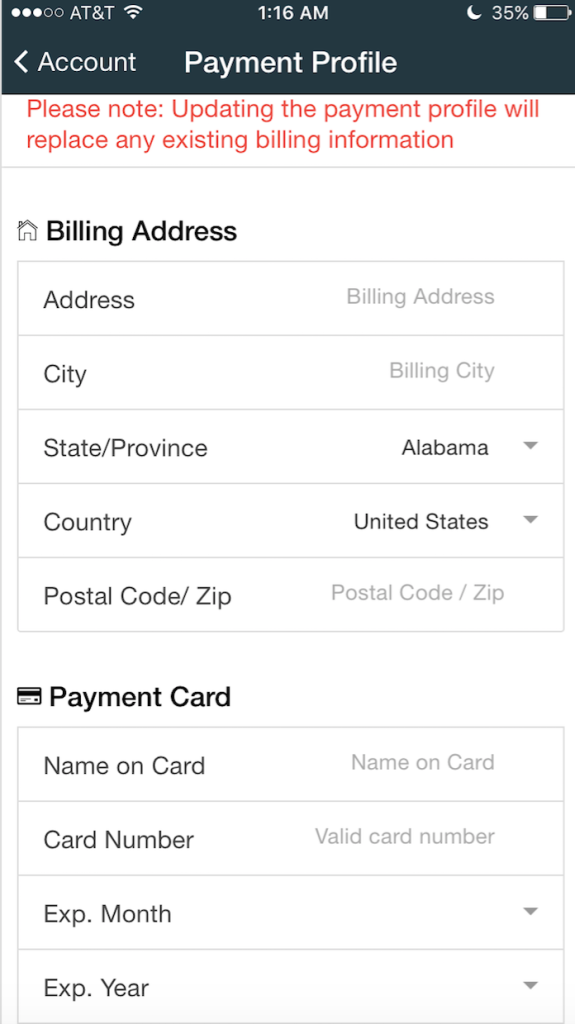
Payment information can either be added for the first time or updated/changed from the “Add Payment Info” page. If no payment information is attached to their client profile, the page will say “Add” payment information. If there is currently a credit card attached to the account, the page will say “Edit Payment Info” and list the last four digits. Payment information added on this page will also be able to be used from the backend of the system for collection.
These are the basics of the passenger app. One other feature to that we have is the “Track My Driver” feature that can be accessed from the “My Reservations” page while the driver is en route to the passenger for pick up. For information on how this works and looks, see Track My Driver.
Corporate Client accounts will have a few additional features/pages built in. To see a tutorial outlining the additional features that will be shown, see our tutorial on Corporate Client Portal Layout.
For some other useful tutorials on the passenger app, feel free to view the following:
Passenger App , Passenger App – On Demand, Passenger App Settings , Download the Pass. App , and Apply for a White Label Passenger App.
Please contact us with any questions or concerns that you may have at support@bookridesonline.com.

