
Not only does Book Rides Online offer client accounts that enable clients to maintain their profile details, payment information and past/upcoming trips, but we also offer a great Corporate Client feature that allows your business clients to easily maintain trips for multiple employees quickly and efficiently. Below we will map out a few of the important features of the Corporate Client accounts and how to set them up.
The first and most important thing to note is that Corporate Client accounts cannot be set up directly by the customer. Because of the special privileges these accounts offer, it’s important that only those clientele that you as a business want to have as a corporate account, have access to those extra features. So keeping that in mind, all corporate accounts you set up will be done in one of two ways:
- Switching Individual Client Accounts into Corporate Client Accounts
Clients can create BRO accounts through your website form and passenger app (turn on automatic BRO accounts, see Form Settings) or you can make any client profile from your Clients page active to allow them to create and log into their account (Active BRO Accounts).
All accounts made through the website form or passenger app by your clients themselves will automatically be set up as individual clients, but you can switch any individual client account into a corporate account in two ways. First, you can do this from the Clients page. Go to your Clients page and find the account you’d like to make corporate. Open up the account using the red edit wheel to the left of the client name.
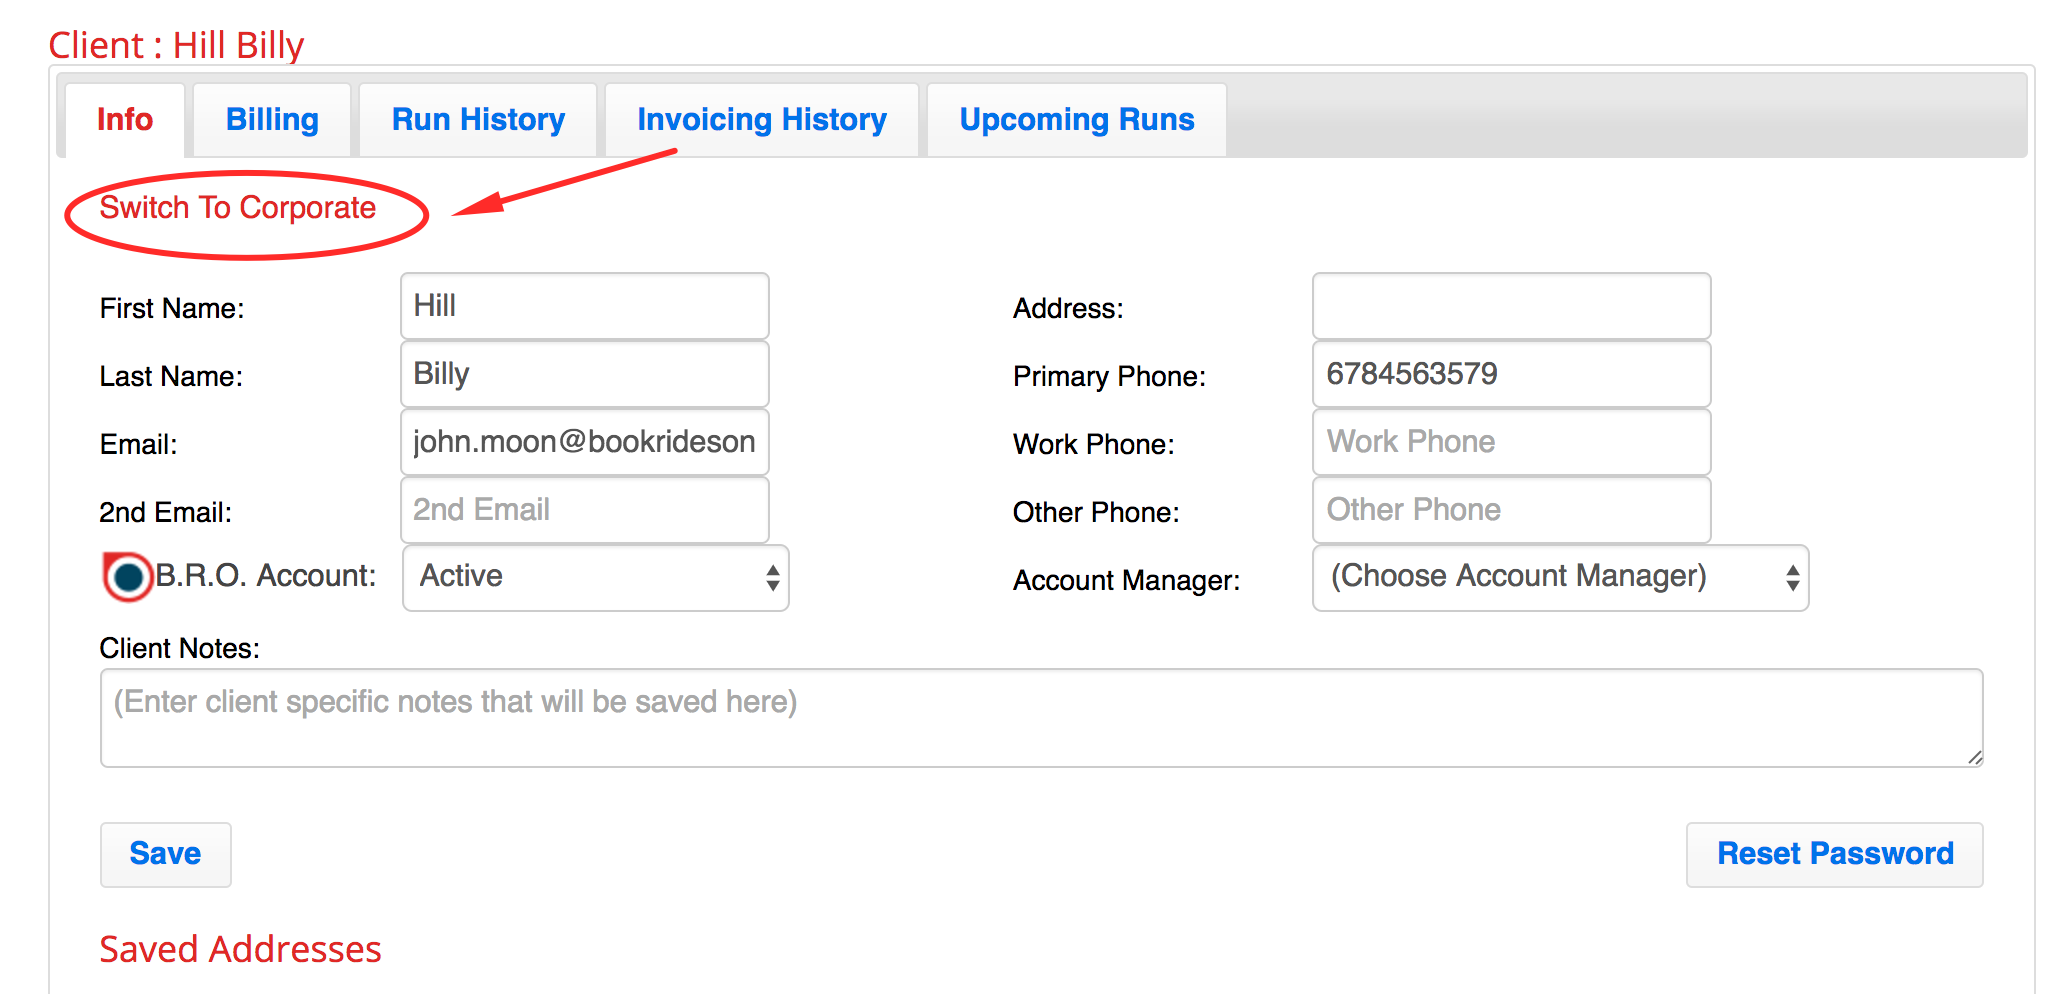
At the top left hand side, you’ll see red text labeled, “Switch to Corporate”. Click this to switch the account into a corporate client account. You will see that the first name and last name fields will become the main contact first/last name for the business account and two new fields will appear for you to enter the business account information. Be sure to press save. Please note, the account will then be saved under the corporate clients tab and no longer the individual clients tab.
2. Create a Corporate Client Account from the Backend
You can easily enter a new Corporate Client account from the backend if your business client does not already have a profile/account in the system. Simply, go to the Clients page, click into the Corporate Client tab and click the button in the top right corner marked “Create new corporate client”.

This will allow you to create a new Corporate Client and then just be sure to make the account active either from within the account, or using the BRO Account column and clicking the icon (see link for Active BRO Accounts earlier in this tutorial).
For more information about adding a new client from the corporate client page, see Adding a New Client. Want to see what extra features Corporate Clients have that individual accounts don’t? See Corporate Client Account Features.